
The Cost of Poor HMI Design
Poor HMI (Human Machine Interface) design is not just an inconvenience — it is a safety and productivity risk. Major industrial incidents, including the 1979 Three Mile Island nuclear accident and the 2005 Texas City refinery explosion, cited operator interface design as a contributing factor. Operators who cannot quickly understand the plant state from the HMI make slower decisions, miss critical alarms, and are more likely to make errors under pressure.
In the context of Indian industrial plants — textile, chemical, food processing, water treatment — the practical costs of poor HMI design are production losses, delayed fault response, and operator fatigue. A well-designed HMI allows a trained operator to grasp the complete plant state within seconds and take the right action without searching through multiple screens.
This guide follows ISA-101 (Human Machine Interfaces for Process Automation Systems), EEMUA 191 (Alarm Systems — A Guide to Design, Management and Procurement), and practical experience from Indian industrial projects.
The High-Performance HMI Philosophy
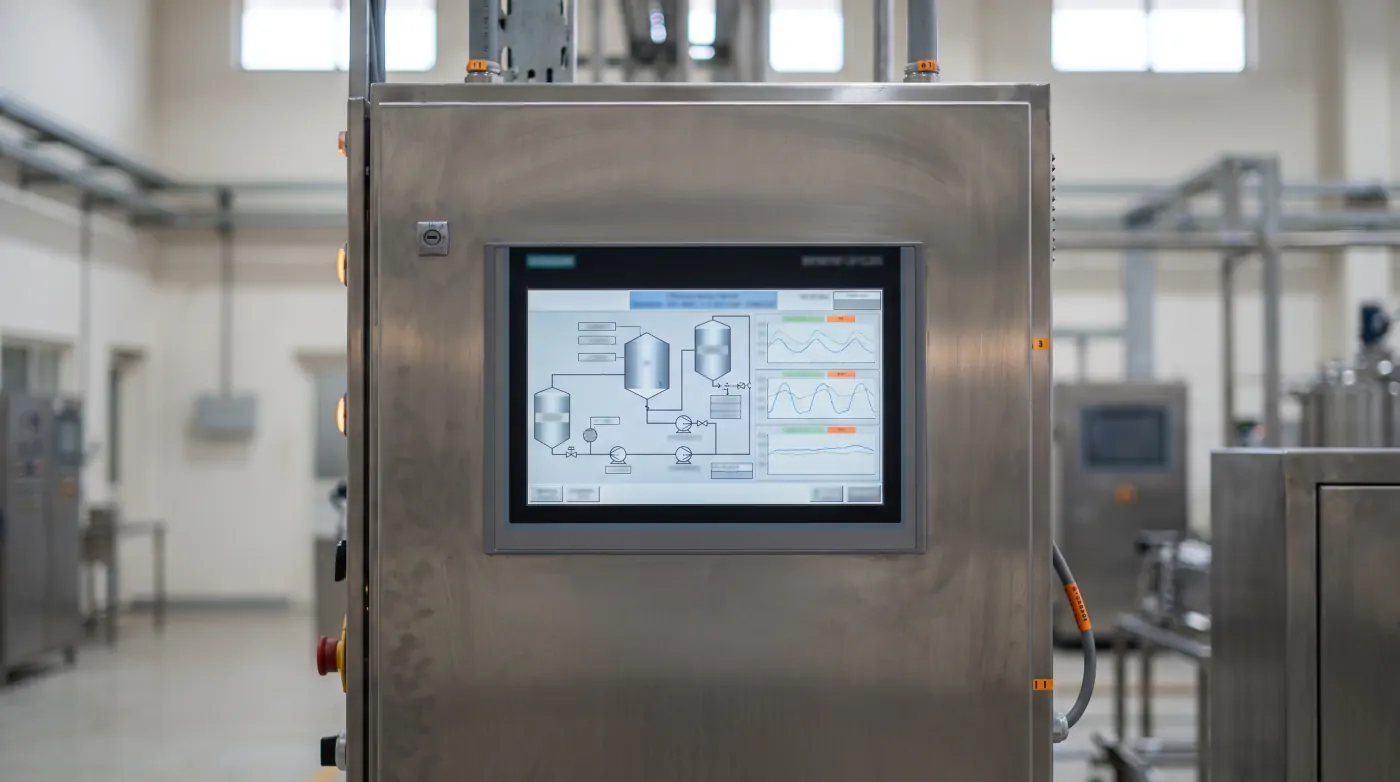
The High-Performance HMI (HPHMI) philosophy, developed by Abnormal Situation Management (ASM) Consortium and promoted by the ISA-101 standard, provides clear guidance:
- Grey background: Use a neutral grey (not white, not black) background. White backgrounds cause eye fatigue under bright plant lighting. Black backgrounds make it hard to distinguish between normal and abnormal states.
- Muted colours for normal state: In normal operation, process values, equipment symbols, and pipes should be grey, dark blue, or other muted colours. Bright colours (red, yellow, green) should be reserved exclusively for abnormal conditions.
- 3D-style buttons and raised elements should be minimised: Flat, simple graphics reduce visual clutter and make it easier to distinguish state changes.
- Avoid decorative graphics: Shaded 3D equipment symbols, animated flames, and photo-realistic imagery look impressive in demos but reduce clarity during abnormal situations when every second counts.
Layout and Navigation Principles
Screen hierarchy: Organise screens in a four-level hierarchy:
- Level 1: Overview screen — entire plant on one screen, key health indicators only
- Level 2: Unit screens — one process unit per screen (pump station, reactor, boiler)
- Level 3: Group screens — specific equipment and controls within a unit
- Level 4: Faceplate pop-ups — detailed PID loop tuning, valve details, trend history
Consistent navigation: Place navigation buttons in the same screen position on every display. Operators should be able to navigate to any Level 2 screen within 2 clicks from anywhere in the system.
Screen real estate: Do not try to show everything on every screen. Clutter increases cognitive load. Each screen should have one clear purpose and show only the information needed to accomplish that purpose.
Trends: Every key process variable should have an accessible trend (30 minutes, 8 hours, and 24 hours minimum). Embed small spark-line trends directly on equipment faceplates so operators can see recent direction without navigating away.
Colour Standards for Alarm States
Colour is the fastest visual communication channel and must be used consistently across all screens. Follow ISA-101 and EEMUA 191 colour conventions:
| State | Colour | Usage |
|---|---|---|
| Normal | Grey / Muted blue | All equipment in normal operation |
| Active alarm — Priority 1 (Emergency) | Red flashing | Immediate operator action required |
| Active alarm — Priority 2 (High) | Red steady | Urgent operator attention needed |
| Active alarm — Priority 3 (Medium) | Yellow | Operator awareness and action |
| Active alarm — Priority 4 (Low) | Cyan or white | Information, no immediate action |
| Acknowledged alarm | Colour steady (not flashing) | Operator has seen the alarm |
| Returned to normal, unacknowledged | Flashing (original colour) | Alarm cleared but not acknowledged |
| Equipment off / de-energised | Dark grey | Motor stopped, valve closed |
| Equipment running | Dark green (not bright green) | Motor running, valve open |
| Equipment in fault | Red | Equipment fault, requires attention |
Bright green for "running" is a common mistake — it creates a false sense that green = good, and operators may fail to notice a running motor that should be stopped.
Alarm Management
Alarm floods — where hundreds of alarms trigger in rapid succession after an upset — are the most dangerous situation for operators. During a Texas City-style runaway situation, alarm systems generated thousands of alarms faster than any human could process. The EEMUA 191 guideline states that operators should handle no more than one alarm per 10 minutes in normal steady-state operation, and no more than 10 alarms per 10 minutes during an upset.
Design alarms to be:
- Relevant: Each alarm must require a specific operator action. Informational messages should be in an event log, not the alarm list.
- Unique: Do not alarm the same abnormal condition from multiple tags simultaneously (alarm rationalisation).
- Prioritised: Use a maximum of 4 priority levels. Over 80% of alarms should be Priority 3 or 4. Priority 1 should be reserved for true emergency actions.
- Documented: Every alarm must have a cause, consequence, and required action documented in an alarm response procedure or electronic alarm help screen.
Conduct an alarm rationalisation workshop during HMI design. For existing plants, perform an alarm database audit and remove or suppress nuisance alarms (alarms that operators routinely silence without acting).
Operator-Centred Design Process
The best HMI designs involve operators from the start, not just at the end for acceptance testing. Practical steps:
Task analysis: For each major operator task (starting a pump, responding to a level high alarm, initiating a batch), document the information the operator needs, the sequence of actions, and the time available to respond.
Prototype review: Create paper or screen prototypes of key displays and walk through scenarios with experienced operators. Identify missing information, confusing symbols, and navigation dead ends before any programming begins.
Usability testing: With a working prototype, ask operators to perform representative tasks without guidance. Observe where they hesitate or make errors — these are design failures, not operator failures.
Shift handover screens: Design a dedicated shift handover screen that shows the current plant state summary, active alarms, equipment out of service, and recent events. This one screen should brief an incoming operator in under 2 minutes.
Touchscreen vs Keyboard/Mouse Considerations
Modern industrial HMIs increasingly use touchscreens. Design considerations for touch:
- Minimum touch target size: 12×12 mm for gloved operators, 10×10 mm for ungloved
- Avoid small clickable elements near each other — a mistouch on a wrong valve is a serious risk
- Use confirmation dialogs ("Are you sure you want to OPEN VALVE V-101?") for all control actions
- Provide a physical E-stop button that does not depend on the touchscreen working correctly
Further Reading
Related Articles
Explore more technical guides from our automation knowledge base.